
My latest DIY has been this pom-pom rug which I'm super proud of. I think it looks adorable, cosy and perfect to add texture and functional decor to a bedroom or small space.
Personally, I love pom-pom crafts because they're some of the easiest things to make. They're great to make cute soft furnishings like this rug, this pom-pom dreamcatcher I made last year, garlands and wall hangings.
You will need:

- A non-slip mat (I bought mine from eBay)
- 6 skeins of wool (I also got mine from eBay: 2 in cream, 2 in toy, 1 in apricot and 1 in spring green)
- A pom-pom maker in the size of your choice. The one I used had a diameter of 7cm.
The total cost of this DIY: £24
Wool: £1.89 per stein.
Mat: £6.99
Pom-pom maker 4 pack: £5.50
How long will it take to make?
The rug only took a day in total to make. I started it late one evening and then spent the next afternoon and evening completing it.
It's a great time to binge-watch your favourite shows or watch a film. I binge-watched New Girl and caught up on Ru Paul's Drag Race whilst watching it.
Step one - Make the pom-poms:


For this DIY, I knew I'd planned on creating a rug that didn't exactly have a set design. I liked the idea of a randomly placing the pom-poms for a colourful unpatterned effect and so I'd picked four colours I liked together.
I bought two of two colours to make them the 'base' colours and the other two were theoretically 'accent' colours.
To make the pom-poms, I used a pom-pom maker that I'd bought from Hobbycraft. It came in a pack of four and I settled on a medium-sized pom-pom maker. I wanted pom-poms that were big so that it would be a thicker and larger rug. That said, you could do the same with smaller pom-poms as it wouldn't be as thick but would probably be larger in size. It all depends on what you want, but I'd recommend something between 5-7cm in diameter.
It's really easy to use and has instructions on the packet but if you don't know how to make pom-poms, I've posted videos on my TikTok showing different ways on how you can make pom-poms.
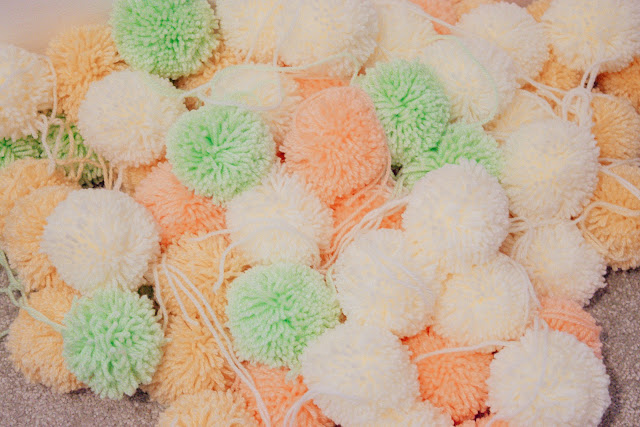
I used every last bit of wool and ended up making 72 pom-poms altogether!
Step two - Lay the pom-poms out on the non-slip mat:
The reason for the non-slip mat is to have a base to attach the pom-poms to. I bought a huge non-slip mat didn't need all that much but I'm glad I have it so that I can have a go at some other rug or mat DIYs.

I laid the mat out on the floor and then started to map out where the pom-poms were going to go and what my design was going to look like.

Step three - Attach pom-poms to the mat:
Once I had my design, I carefully tied all the pom-poms to the mat. This took me a while as I hadn't thought through flipping the mat over and tying the pom-poms on but it wasn't too difficult. Next time I'd probably lay out the pom-poms off the mat to make things easier.
The other thing worth noting is that if you have a non-slip mat that is quite flexible, you'll need to thread some of the pom-poms together to avoid the mat being too flexible and falling apart. I had to do this to strengthen the rug.
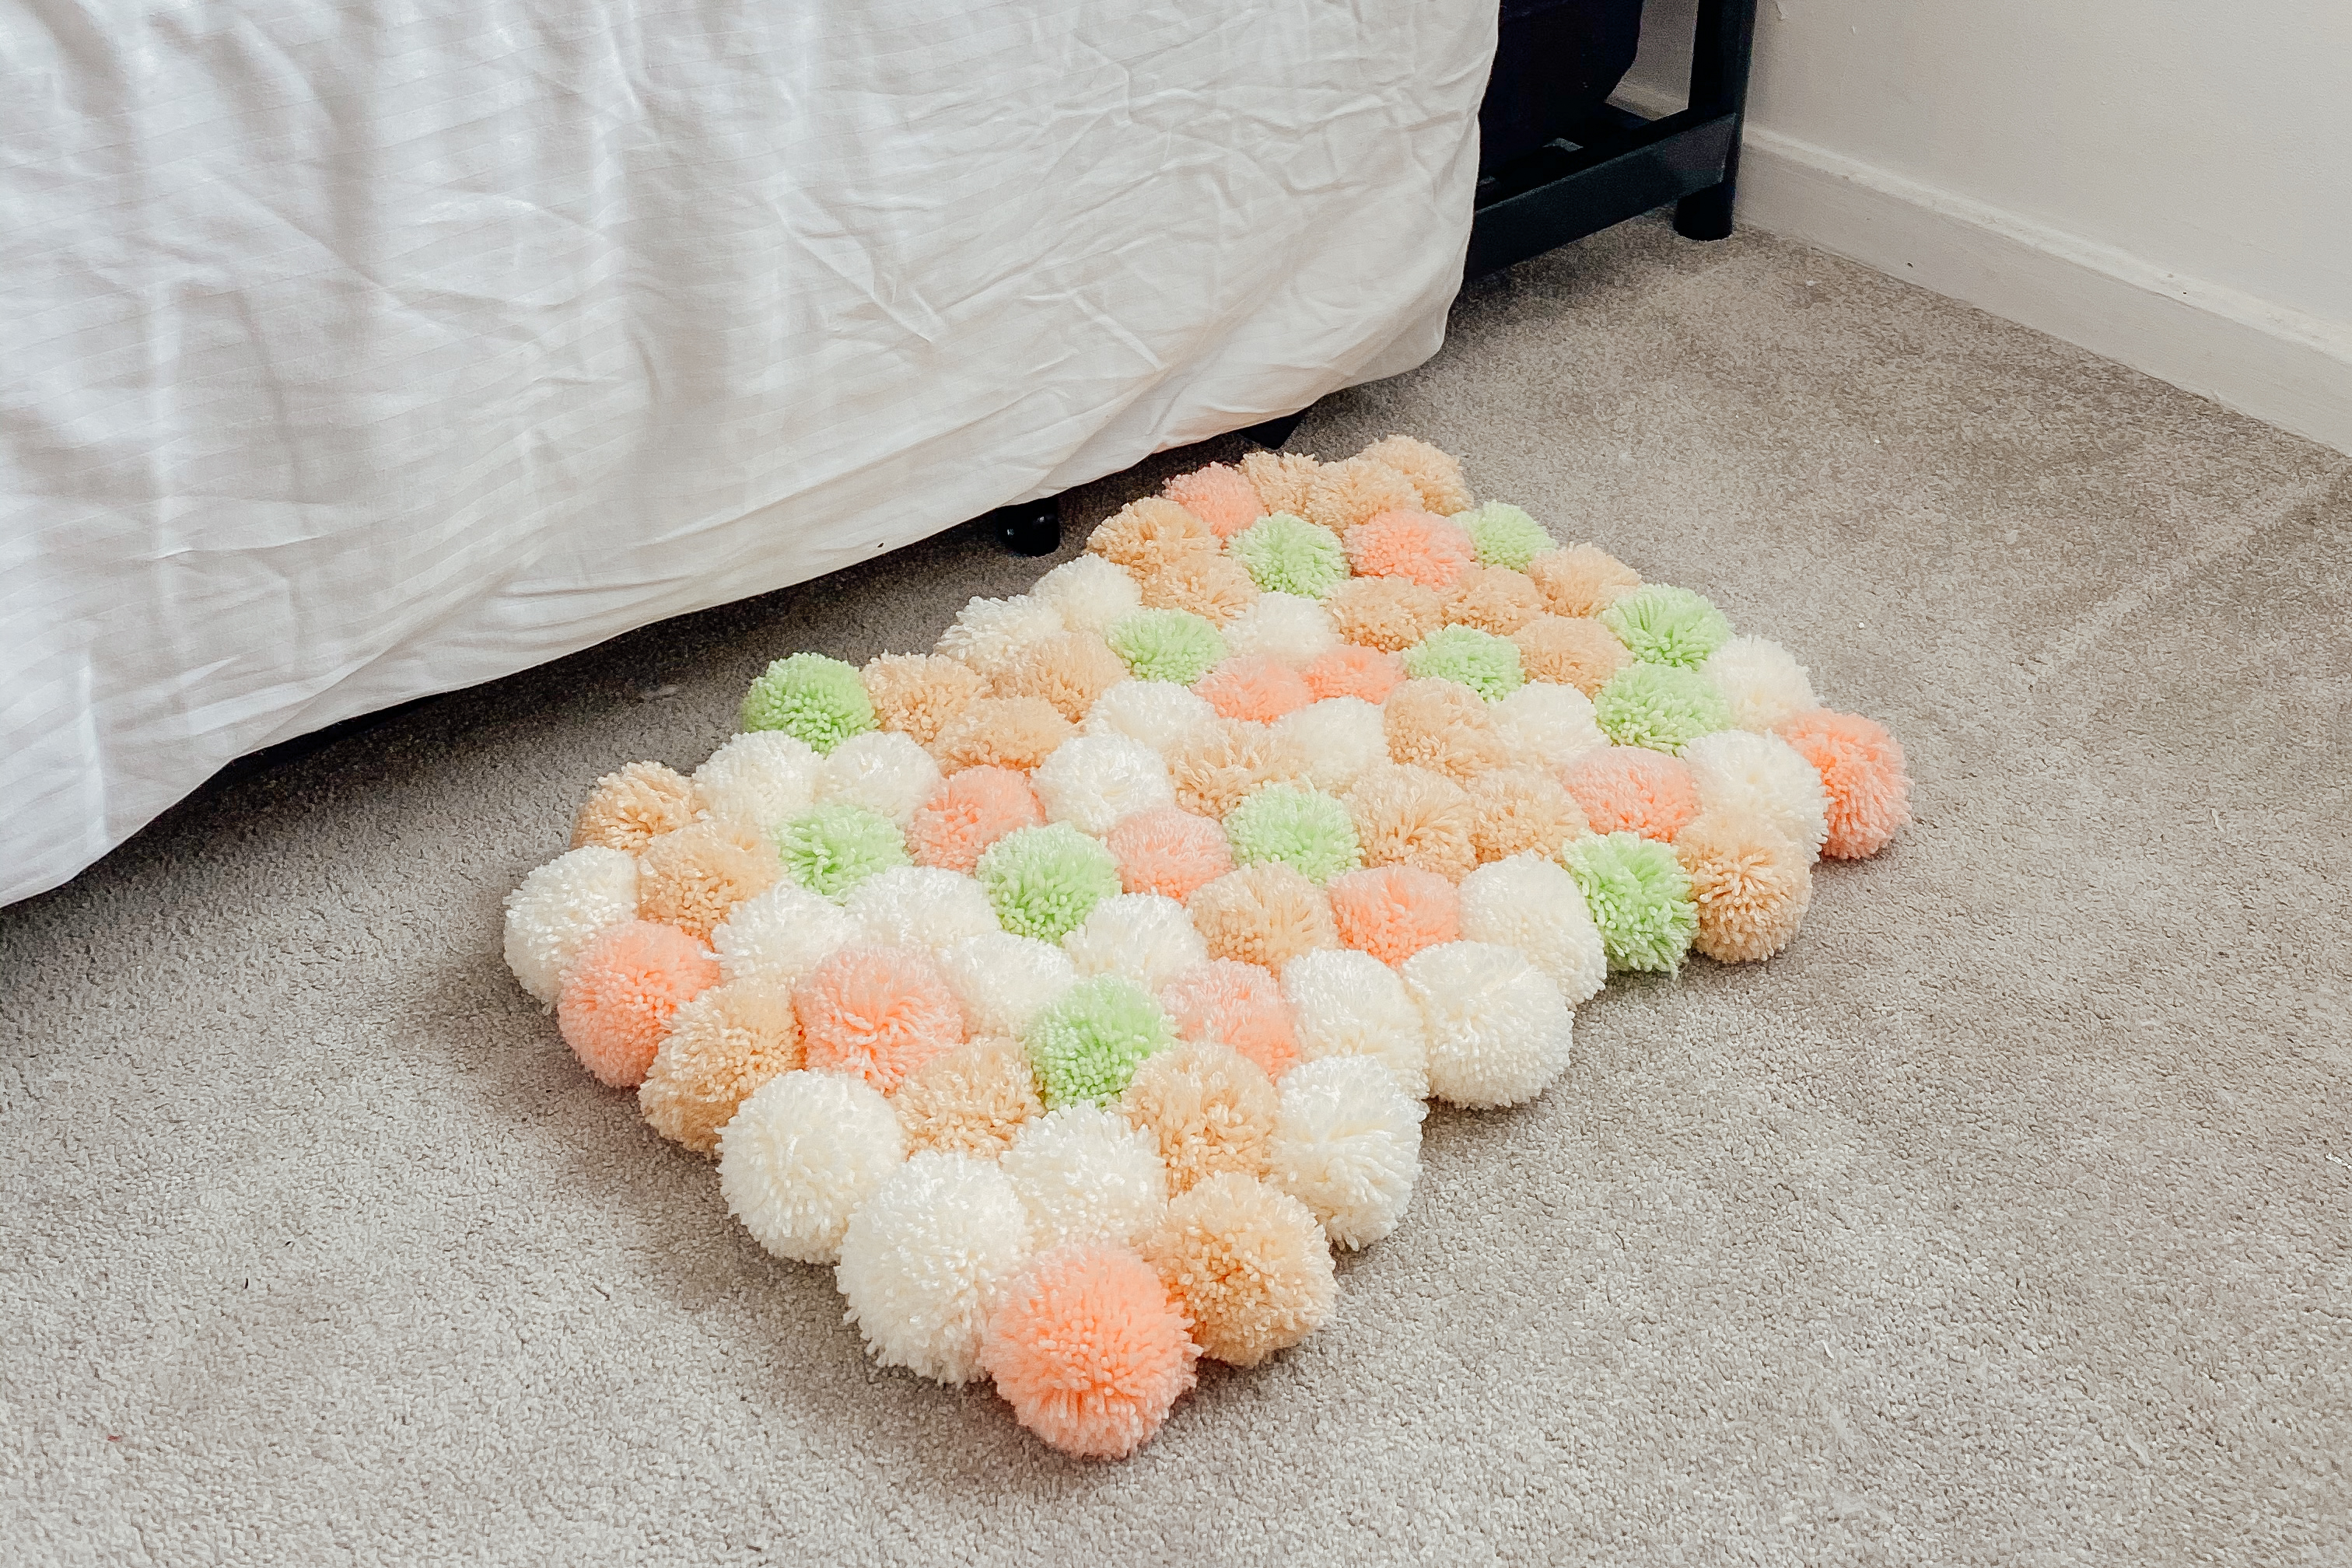
The final result

This rug will live next to the bed of the guest/office room in the new house and the colour scheme will hopefully match the colours I have planned for the room.
I love the way this rug turned out and though it was a little smaller than I thought it would be, it's not too small.
It's such a simple DIY that I feel like anyone could make. It does take a little time but it's totally worth it when you see what you've made at the end of it all.
Making pom-poms is also really therapeutic. It doesn't require you to think too much and you end up making something really cute and cosy.
Pin this post:


Will you be having a go at this DIY? What colours would you pick for your rug?
Love this idea! The finished effect is so pretty too. Well done! :-) xx
ReplyDeleteHelen | Helen’s Fashion, Beauty & Lifestyle Blog